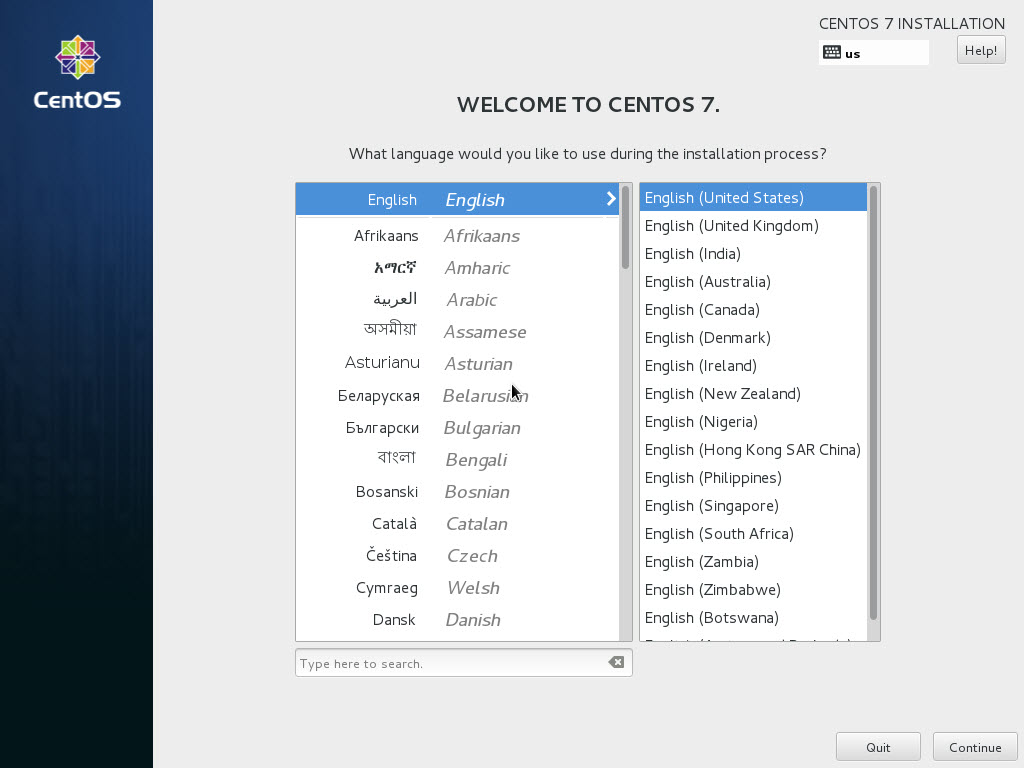
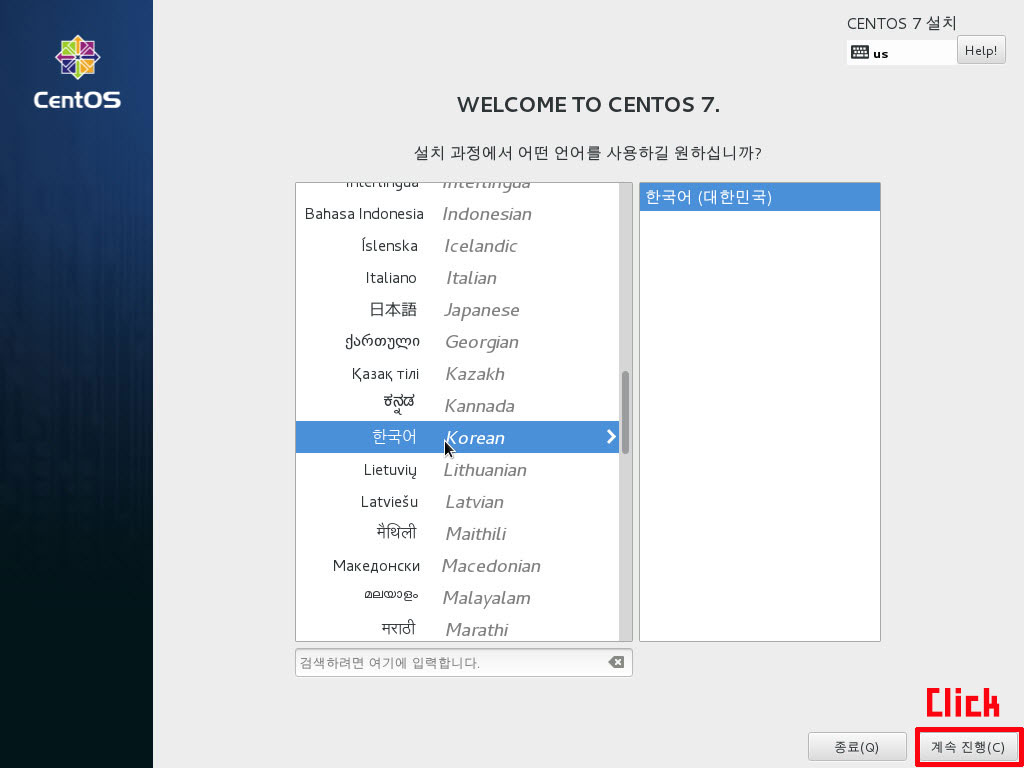
VM VirtualBox를 실행하고 다운로드한 Centos를 마운트 하고 설치를 시작합니다.
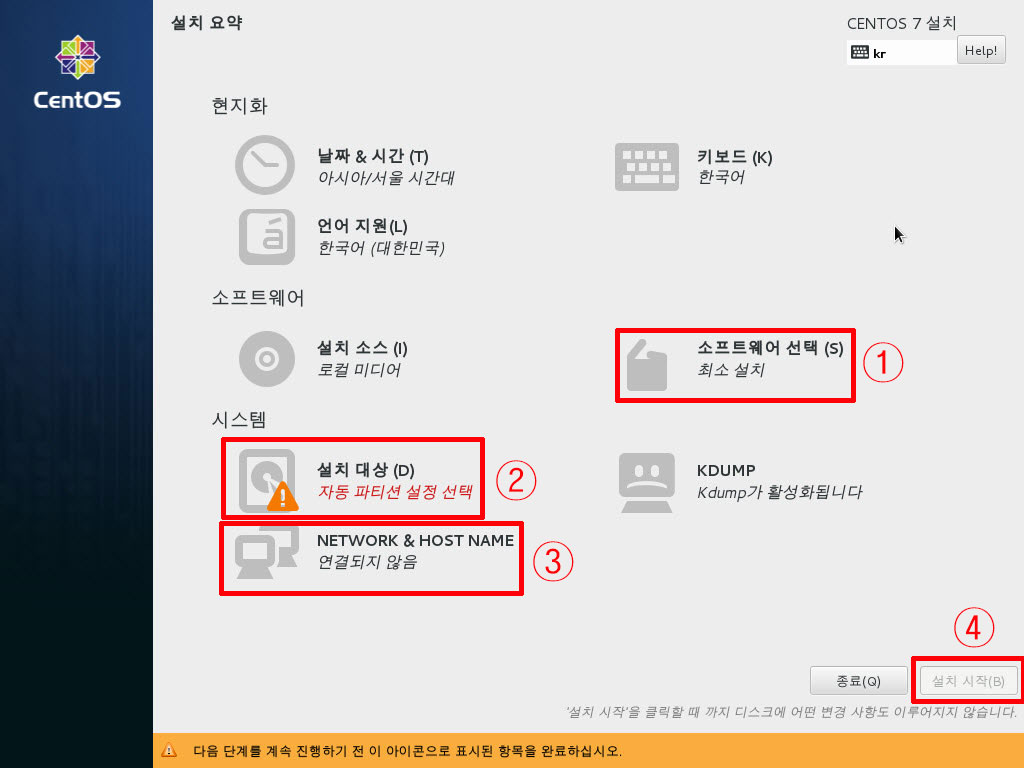
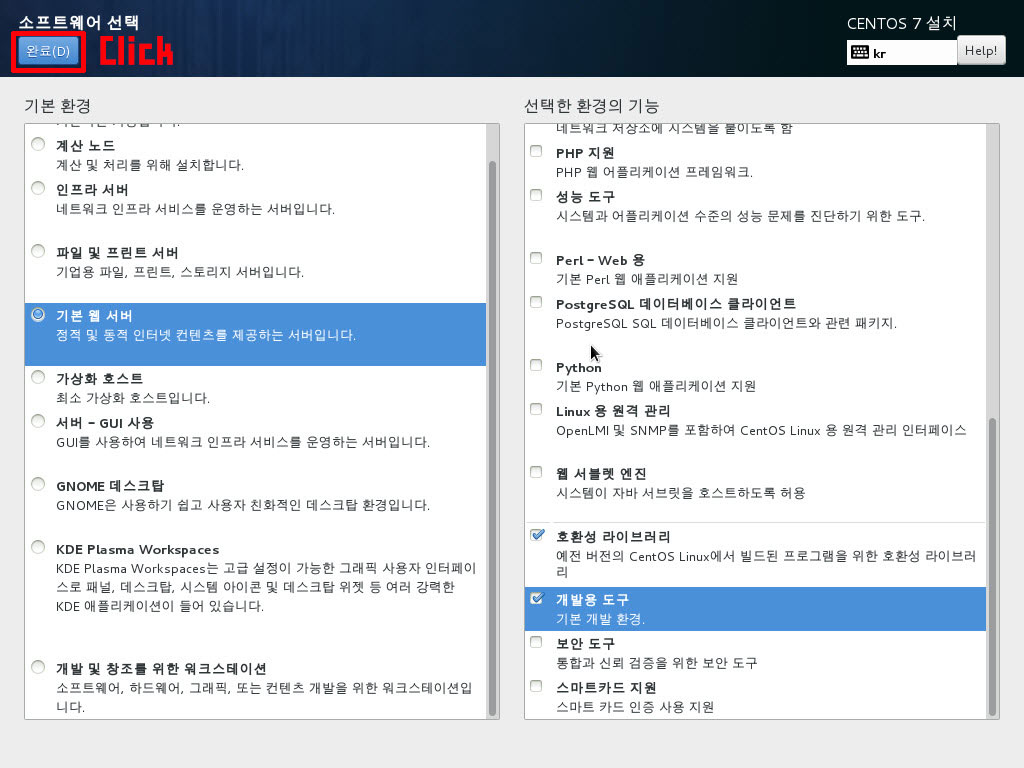
![초기화면](https://s3.ap-northeast-2.amazonaws.com/opentutorials-user-file/module/1701/3543.jpg)
![img 02](https://s3.ap-northeast-2.amazonaws.com/opentutorials-user-file/module/1701/3544.jpg)
![img 03](https://s3.ap-northeast-2.amazonaws.com/opentutorials-user-file/module/1701/3546.jpg)
![img 04](https://s3.ap-northeast-2.amazonaws.com/opentutorials-user-file/module/1701/3556.jpg)
① 소프트웨어 선택 (S)
![](https://s3.ap-northeast-2.amazonaws.com/opentutorials-user-file/module/1701/3557.jpg)
② 설치대상 (D)
![img 05](https://s3.ap-northeast-2.amazonaws.com/opentutorials-user-file/module/1701/3548.jpg)
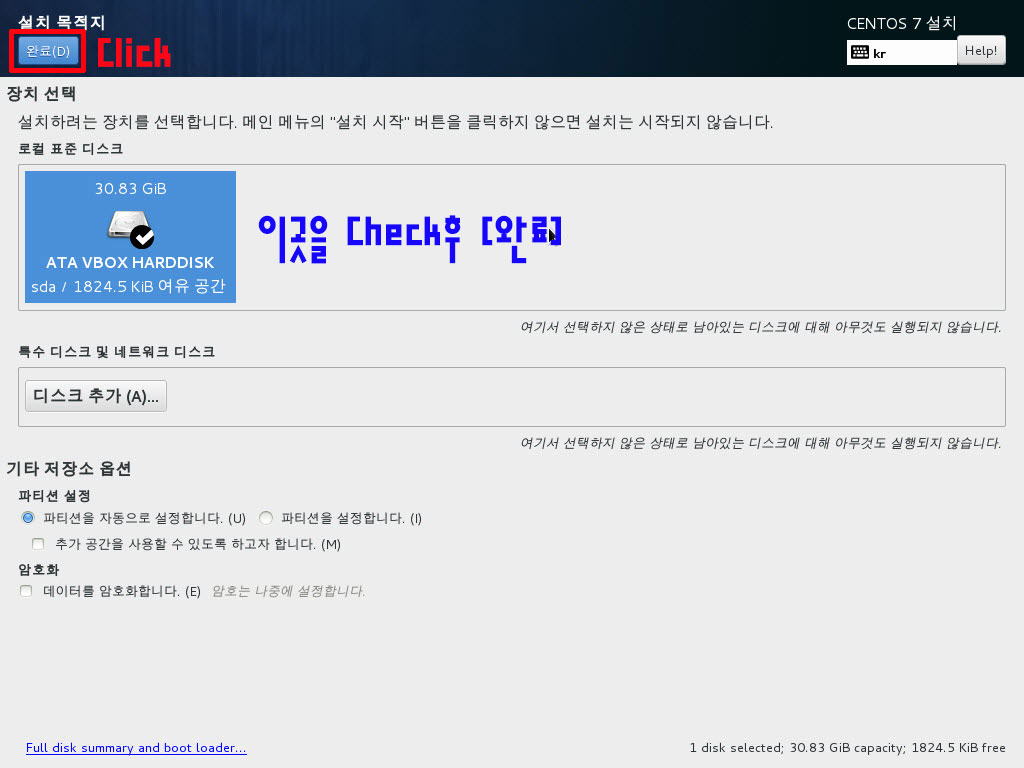
로컬 표준 디스크에 체크가 안되면 마우스 오른쪽 버튼을 눌러주면 선택/해제 순으로 토글됩니다.
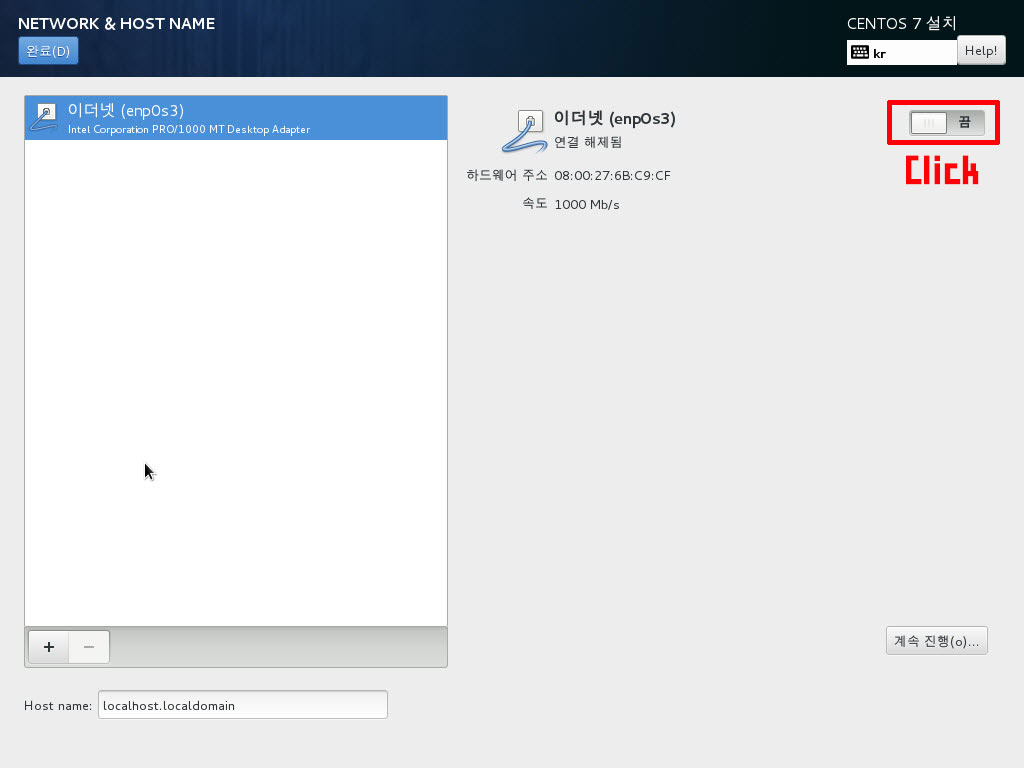
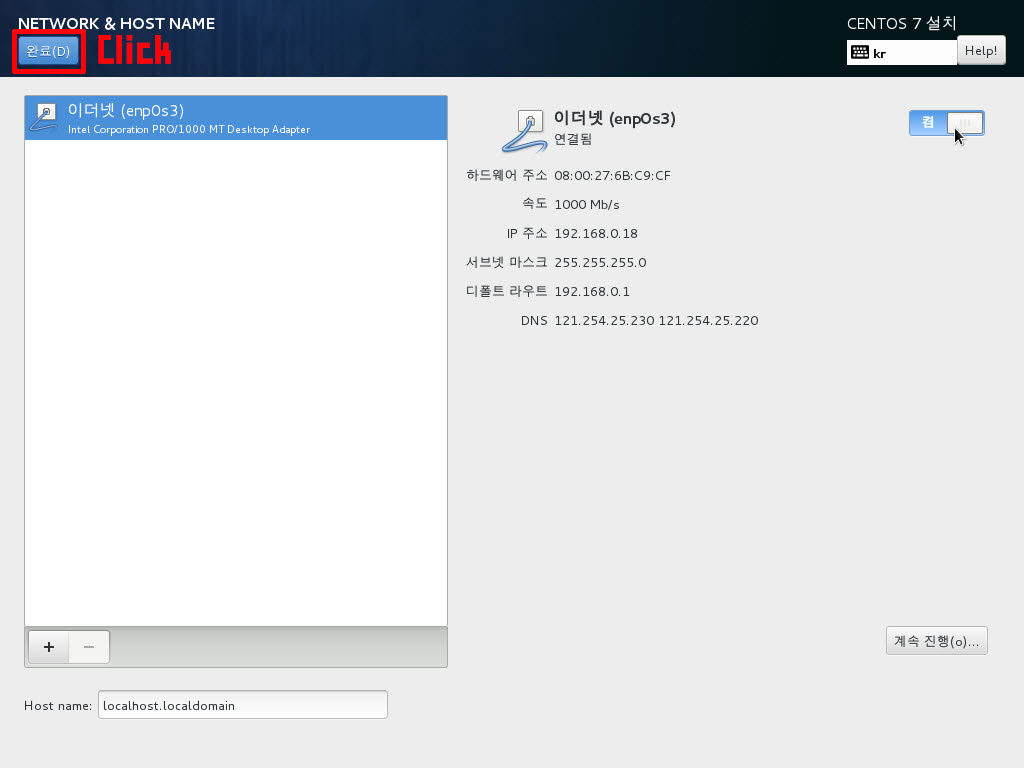
③ NETWORK & HOSTNAME
![](https://s3.ap-northeast-2.amazonaws.com/opentutorials-user-file/module/1701/3558.jpg)
설치요약 화면으로 돌아와서 2번 [소프트웨어 선택(S)]를 선택합니다.
다시 설치요약 화면으로 돌아와서 활성화 되어 있는 3
![](https://s3.ap-northeast-2.amazonaws.com/opentutorials-user-file/module/1701/3559.jpg)
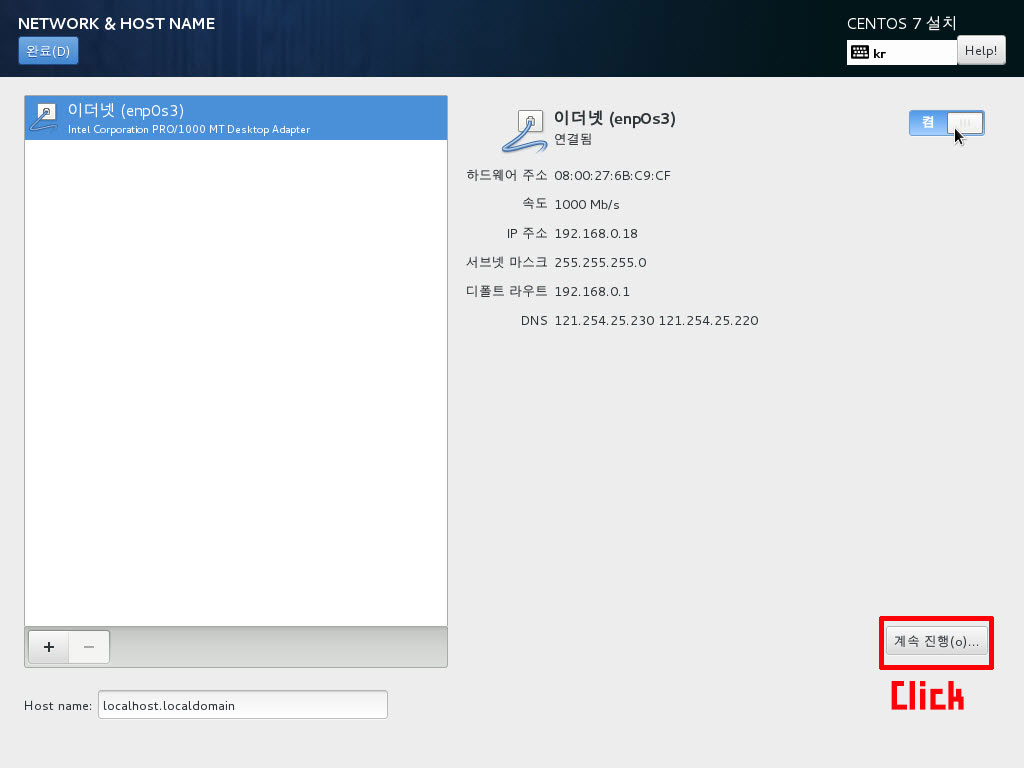
번 [설치 시작(R)]을 선택합니다.
![](https://s3.ap-northeast-2.amazonaws.com/opentutorials-user-file/module/1701/3562.jpg)
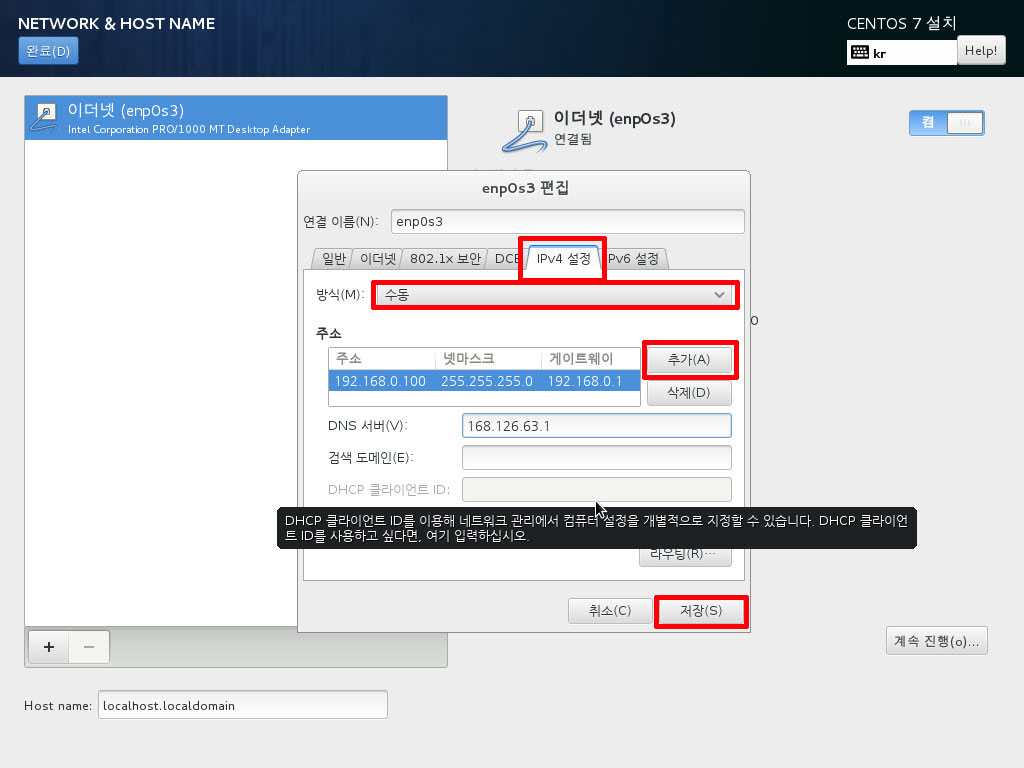
[추가(A)] 버튼을 클릭하고 IP 주소 넷마스크 , 게이트웨이 를 입력하여 줍니다.
바로아래 DNS 서버(V)에는 168.126.63.1 을 입력한 후 [저장(S)]을 클릭.
IP주소를 수동으로 입력하여 주는 이유는 DHCP서버로 부터 IP주소를 자동으로 받으면 서버의 IP는 부팅할때 마다 바뀔수도 있으므로 접속할때마다 IP를 확인하여야 하는 불편함이 있으므로 수동으로 IP를 지정하여 항상 그 주소로만 접속을 할 수 있도록 하기 위합니다.
![](https://s3.ap-northeast-2.amazonaws.com/opentutorials-user-file/module/1701/3563.jpg)
④ 설치 시작(B)를 클릭하여 설치를 진행합니다.
![img 07](https://s3.ap-northeast-2.amazonaws.com/opentutorials-user-file/module/1701/3551.jpg)
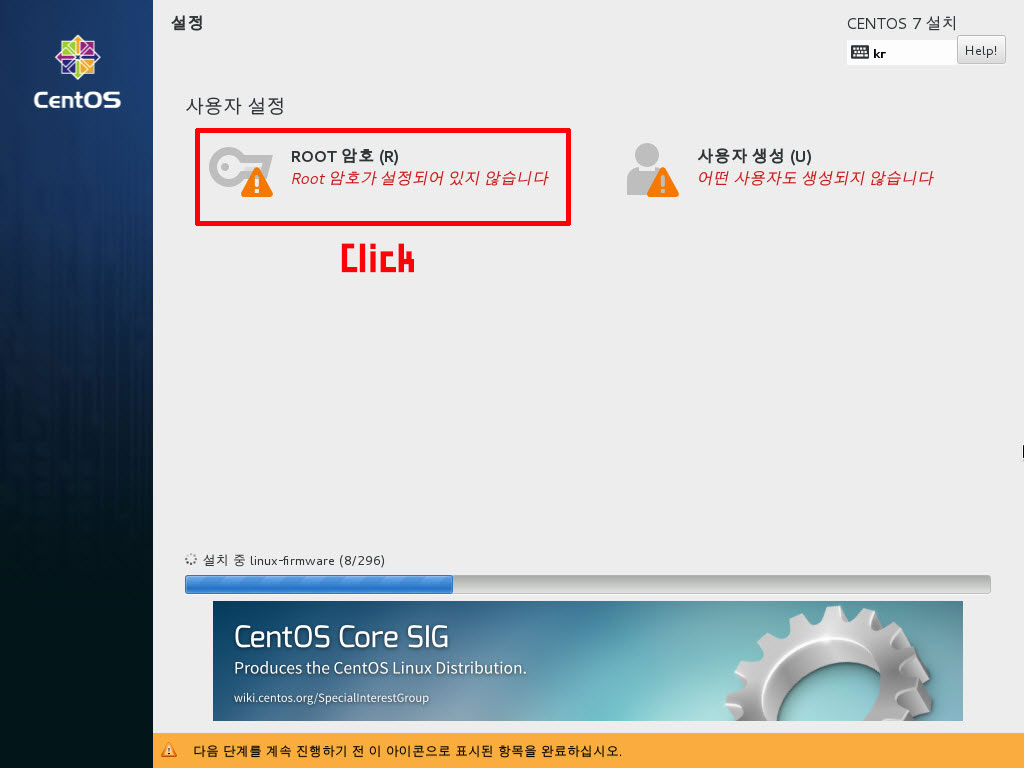
root는 Window에서 Administrator와 같은 의미 입니다.
한마디로 Centos의 최고운영자입니다.
![img 08](https://s3.ap-northeast-2.amazonaws.com/opentutorials-user-file/module/1701/3552.jpg)
![img 09](https://s3.ap-northeast-2.amazonaws.com/opentutorials-user-file/module/1701/3553.jpg)
![img 10](https://s3.ap-northeast-2.amazonaws.com/opentutorials-user-file/module/1701/3554.jpg)
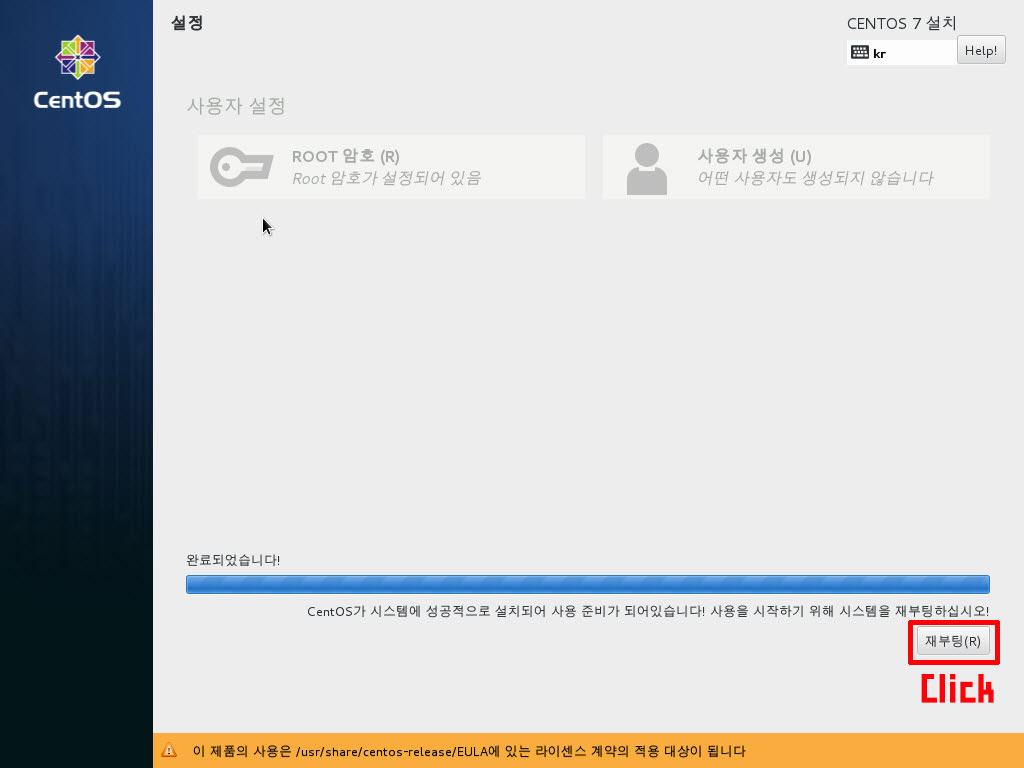
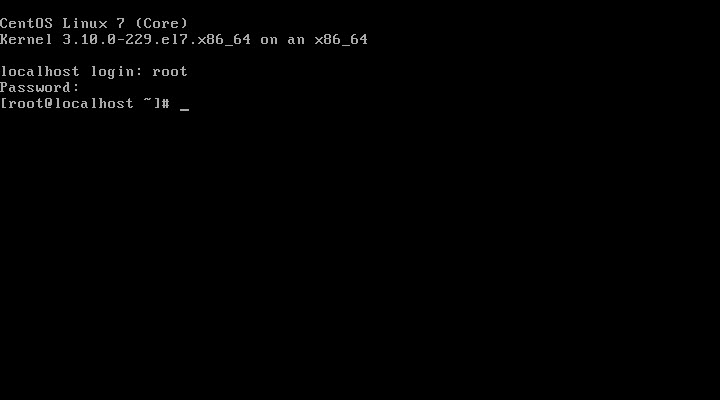
드디어 Centos의 세계에 첫발을 디뎠습니다..